Building a PC can be a challenging yet thrilling experience. It’s like assembling a high-stakes jigsaw puzzle where every piece impacts performance. There’s nothing quite like the satisfaction of slotting in that GPU, hearing the click of RAM sticks sitting into place, or mastering the delicate art of cable management. You might question why we opted for a custom-built PC over a laptop or a Mac Studio. The answer is simple: bang for the buck. In the world of tech, specs are king, and our Custom-built Gaming and VFX Editing PC offers more power per rupee than pre-assembled laptops and Mac Studios. When choosing the parts for our PC build, we did a lot of research to ensure they fit our needs and also fit into our budget. Several hours of research and head scratching later, We managed to get a powerful CPU and top-tier GPU without spending the kind of cash that would make a Mac Studio blush. Shintu Dhang from my team, who is as geeky as the word geek itself, joined me in this quest, and without his involvement, it was impossible to build one at the price we had anticipated. The only thing left to be answered was why and for what purpose we were building it. It was almost like shooting first, not knowing who or where the bullet was intended for.
What is a fast PC? Depending on your needs, the answer varies. It can be gaming, video editing, sending high-value million-dollar proposals in emails or just that you like owning a supercar, even if you are driving in a city below 60 km/h. It doesn’t matter if it is a faster machine; being specs-heavy is also bragging, right? We decided to build one and looked up Amazon first, where the sum of the total was expensive. The next stop was a visit to Lamington Road in Mumbai, which was at least 15% cheaper.
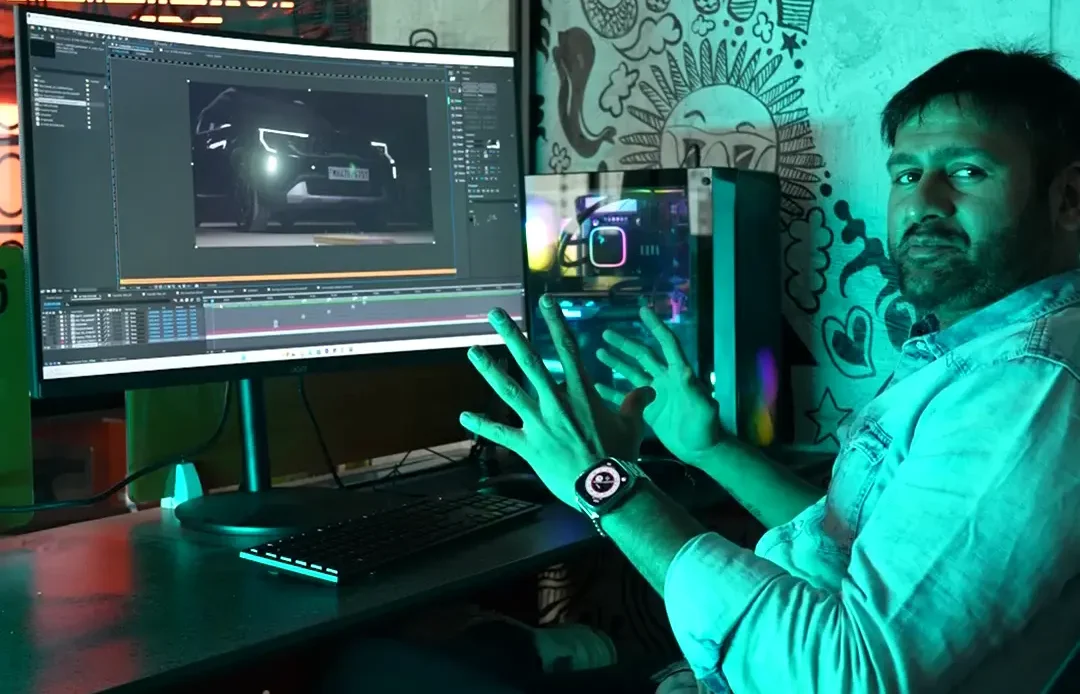
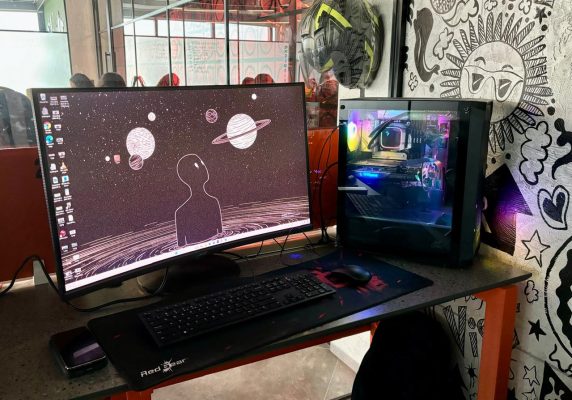
Check out how we setup the High Performance Custom Build PC for Gaming and VFX editing.
Selecting the Parts to Build Custom Gaming and VFX Editing PC
CPU: Intel Core i7 12700F
Purchase Price ₹21830
Amazon price ₹23049
MRP ₹50000
AMD or Intel? That’s the question on our minds, and it’s one of the most critical decisions that will impact our next steps. We’ve chosen Intel due to the value for money and the number of cores needed for gaming and VFX editing. Additionally, the reliability of Windows and Intel led me to select the 12th-generation Intel Core i7 12700F. We opted for the F version because we’ll be installing a dedicated GPU for graphics, and the F version is cheaper than the regular one, allowing us to save some money that can be used for other components. By now, one thing was clear: we were being careful with every rupee, and the ultimate objective became to build a PC to last us at least five years with Video Editing, Gaming, or even doing some astronomical calculations.
Motherboard: Asrock B760M Pro RS motherboard
Purchase Price ₹15500
Amazon price ₹15450
MRP ₹17400
We have been searching for a reliable motherboard that can handle intense multi-core performance without any issues. After researching different brands, we chose the Asrock B760M Pro RS motherboard due to its compatibility with Intel processors, high-quality components, advanced cooling, ample ports, high-performance audio, reliable power delivery, competitive pricing, and strong brand reputation. Indeed, it’s a great value-for-money motherboard.
GPU: Zotac TwinEdge RTX 4070
Purchase Price ₹55000
Amazon price ₹55275
MRP ₹89540
While AMD produces good GPUs, NVIDIA takes it a step further. From the latest RTX-4000 series, we selected the Zotac TwinEdge RTX 4070 GPU for its exceptional graphics processing capability, better price and 5-years warranty. This GPU can handle gaming and work-related activities with ease. NVIDIA’s latest GPUs also come with DLSS 3, which enhances gaming performance without sacrificing graphics quality. We purposely decided not to ask any manufacturer, or we would be biased and spend to make the right choice just like you would.
RAM: 128GB ADATA XPG 32GB DDR5 5600mhz RAM
Purchase Price ₹7788 per piece
Amazon price ₹8660
MRP ₹20000
We decided to max out our PC’s RAM capacity by filling all the slots with the latest DDR5 RAM. Each stick is 32GB, and we will install a total of 4 sticks into the motherboard, running at 5600MHz. Due to the RAM’s high capacity and speed, this setup allows us to handle resource-intensive tasks and gaming efficiently. I must admit that slotting the stick in its spot was one of the most satisfying processes of building the PC.
Storage: Crucial P3 Plus 500GB NVME M.2 SSD
Purchase Price ₹5310
Amazon price ₹5700
MRP ₹5700
We chose NVMe M.2 Generation 4 storage, which offers read and write speeds of over 4700MB/s. This ensures quick loading times for games and applications. Moreover, with a NAS in place, 500GB is sufficient for everyday storage and running Windows 11 Pro smoothly. For everything else, there is an external hard disk of up to 8TB, which you can use more cost-effectively, but in hindsight, we should have chosen 1 TB for Video editing.
Power Supply: Deepcool PM750D 750w PSU
Purchase Price ₹6400
Amazon price ₹7800
MRP ₹10599
We needed a reliable power supply to power the beast that could handle intense loads and spikes when needed. That’s why we chose the Deepcool PM750D 750W power supply. With its 750W capacity, it’s enough to handle the power load of the CPU and GPU at full workload. Even the cables used are of high quality. It also looks good, and it is a must to be a good-looking hyperperformance PC
Cooling: Deepcool Gammaxx LE500 Liquid cooler
Purchase Price ₹5900
Amazon price ₹6800
MRP ₹8900
The powerful Intel Core i7 needs more than a stock cooler when performing demanding tasks for long periods. That’s why we chose the Deepcool Gammaxx LE500 Liquid Cooler. It has a 240mm radiator and a next-generation pump for efficient heat dissipation and reliable operation. Additionally, the cooling is done through water, providing an effective and efficient way to keep your CPU at a low temperature.
Case: Ant Esports ICE- 112 Mid-Tower Computer Case
Purchase Price ₹3300
Amazon price ₹3700
MRP ₹4999

We needed a sleek design with excellent airflow and tempered glass to showcase the build. That’s why the Ant Esports IC-112 mid-tower computer case is perfect. It comes with four 120mm fans preinstalled, which is enough to ensure proper cooling. The tempered glass will encourage us to admire the inner workings of the computer, including the impressive cooling system, while gaming, without forgetting to appreciate the effort put into building the machine.
Monitor: Acer Nitro EI322QK A Curved Monitor
Purchase Price ₹25000
Amazon price ₹24999
MRP ₹40000
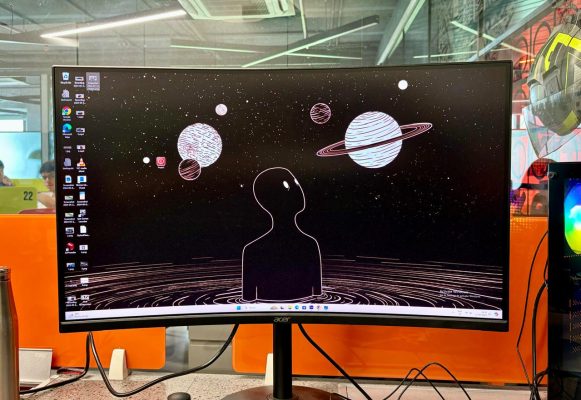
Finding the perfect monitor to meet our needs took us a while. The monitor is important because it will be what we look at whenever we’re using our computer or playing games, so it’s essential to have a high-quality display. After careful consideration, we chose the Acer Nitro EI322QK A LCD Monitor. It features a 32-inch widescreen curved display with a 4K resolution and a 1 ms response time, which ensures smooth and responsive gameplay. Additionally, its ergonomic design allows for adjustable height, providing a comfortable viewing experience for long gaming sessions. I think one of the best choices and monitor is the first thing it hits you visually, and for the price, the Acer Nitro Monitor with a curved screen looks dope!
Assembling the PC- Step-By-Step Guide
Step 1 – Preparing the Case
I installed the motherboard standoffs, installed the power supply, and routed all cables to the motherboard slots, which will be helpful later. Shintu, with all his experience, made the task easier. At times, I joked that if he was not a tech editor, he could be a reseller.
Step 2 – Mounting the CPU and motherboard
Carefully seated the Intel Core i7 12700F into the motherboard, placed the motherboard inside the cabinet, and screwed it firmly into the case.
Step 3 – Installing the RAM and Storage
All the RAM modules are placed in their slots, and the SSD is in its assigned position.
Step 4 – Positioning the GPU
I placed the RTX 4070 in the primary PCIe slot, ensuring a secure connection and firmly attaching it with the screw.
Step 5 – Attach the Liquid Cooler
The liquid cooler includes thermal paste. I removed the cover, firmly attached it to the CPU, and ensured a proper fit with no gaps. The 240mm radiator is attached to the front side.
Step 6- Connecting the PSU
All the cables were attached and connected to the motherboard, GPU, and storage devices.
Step 7 – Cable Management
Neatly organised the cables using Velcro straps and utilized the case’s built-in management features to ensure optimal airflow.
Step 8 – Final Touches
The case fans have been successfully reinstalled, all peripherals are connected, and a final check has been performed before powering the system.
Final Step – Performance
When comparing the performance of our custom-built desktop to that of a laptop, it’s clear that our desktop surpasses the laptop significantly. The cost of replicating the same build in a laptop can exceed 3.5 lakh rupees, and even then, it won’t be able to match the performance that our current desktop delivers.
On the other hand, the Mac Studio, which costs over 3 lakh rupees, is equipped with just 64GB of RAM and lacks powerful GPU capabilities. Macs are not designed for gaming, so comparing the two systems is essentially baseless.
Upgradability
Regarding upgradeability, PCs like this offer a high degree of flexibility as their components can be easily swapped out as needed. This means we can easily upgrade or replace any individual parts, such as the CPU, GPU, storage, and memory, to keep their systems alive and up to date with the latest technology. On the other hand, laptops generally have limited upgradability, and few of the models give the flexibility to install storage and replace batteries. Some high-end gaming laptops may offer more flexibility, but overall, the ability to upgrade components is more restricted compared to desktop PCs.
Cost
I understand the importance of the various computing options available in today’s market. A PC we built cost us Rs. 1.7 lakh, which is a cost-effective choice considering the performance it offers. The ability to select individual parts that fit the budget is appealing, allowing for a customised approach to building a system that meets specific needs and requirements. On the other hand, laptops often come with a higher price tag for equivalent performance, mainly due to the miniaturisation of components and the engineering required to fit them into a portable form factor. However, laptops’ convenience and portability can be an important factor for many users. In the case of the Mac Studio, it’s important to note the premium pricing, which is justified by the seamless integration and optimisation of hardware and software. This level of integration can lead to a smooth and high-performance user experience, although it comes at a premium cost. Considering all these factors, a PC is the best solution for price, reliability, and performance.
Building this PC was a truly rewarding experience that cannot be priced. It brings together the excitement of gaming with the demanding needs of VFX editing. It proves the flexibility and capability that custom-built PCs can provide compared to pre-built systems such as laptops and the Mac Studio. Now, Shintu and I are both exploring an alternative career option in a computer shop. Please don’t mail us or call us because we are sold out for the next five years!

7 mistakes to avoid when renting a car, for a safe and comfortable trip
Car rental for convenience and freedom of movement, unlimited possibilities.